How to Install PHP 8.3 on Ubuntu 24.04
 By
By 
This tutorial will teach you how to install PHP 8.3 on Ubuntu 24.04. PHP is one of the most popular scripting languages for web development. Originally known as Personal Home Page, it now stands for PHP: Hypertext Preprocessor.
It’s widely used to build dynamic and interactive websites, powering around 76% of all websites in 2024. Popular CMS platforms like WordPress, Drupal, and Joomla are built on PHP.
The latest stable release is PHP 8.3, and in this guide, we’ll walk you through installing it on Ubuntu 24.04. The process is simple and only takes a few minutes.
Prerequisites:-
Before starting, make sure you have:
- A server running Ubuntu 24.04 (or another Linux distribution)
- Root access or a sudo-enabled user account
Step 1: Update System
We’ll start with a fresh Ubuntu 24.04 installation. Before installing PHP 8.3, it’s important to update your system packages. Run the following command:
# sudo apt update && sudo apt upgrade -y

Step 2: Install Required Repository
Ubuntu 24.04 doesn’t ship with PHP 8.3 by default.
We’ll add Ondřej Surý’s PPA, which provides updated PHP versions.
#sudo apt install -y software-properties-common ca-certificates lsb-release apt-transport-https
#sudo add-apt-repository ppa:ondrej/php -y
#sudo apt update

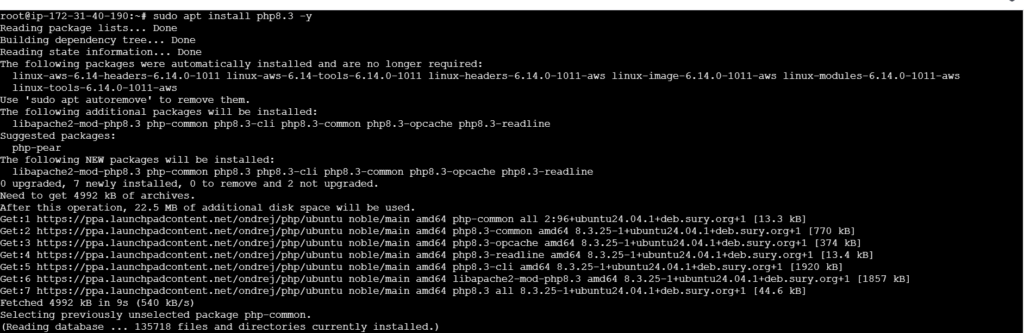
Step 3: Install PHP 8.3
After updating the system, you’re ready to install PHP 8.3. The good news is that Ubuntu 24.04 already includes this version in its default repositories, so there’s no need to add extra repositories or keys. You can install it with a simple command:
#sudo apt install php8.3 -y
After successful installation, you can check the version of the PHP:
#php -v

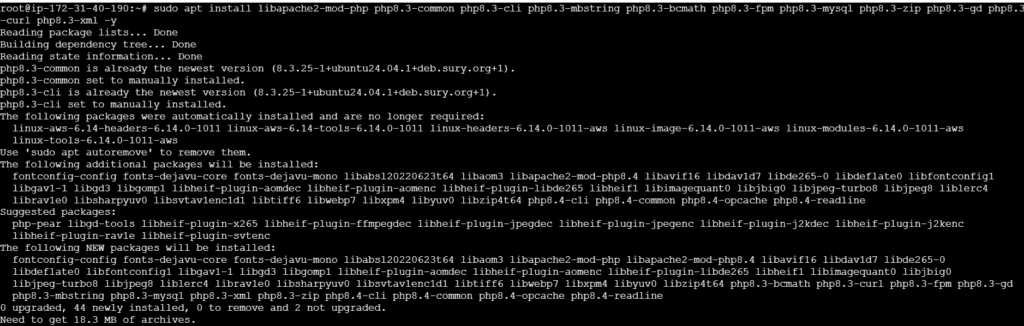
Step 4. Install PHP 8.3 extensions
Installing PHP alone isn’t enough to run a website properly. Most websites also need extra PHP modules to handle things like working with databases (MySQL), processing images, managing HTTP requests, or handling XML data. So, in the next step, we’ll install the most commonly used PHP extensions that are essential for websites.
#sudo apt install libapache2-mod-php php8.3-common php8.3-cli php8.3-mbstring php8.3-bcmath php8.3-fpm php8.3-mysql php8.3-zip php8.3-gd php8.3-curl php8.3-xml -y
Once the installation is complete, you can verify which PHP modules are installed by running the following command:
# php -m

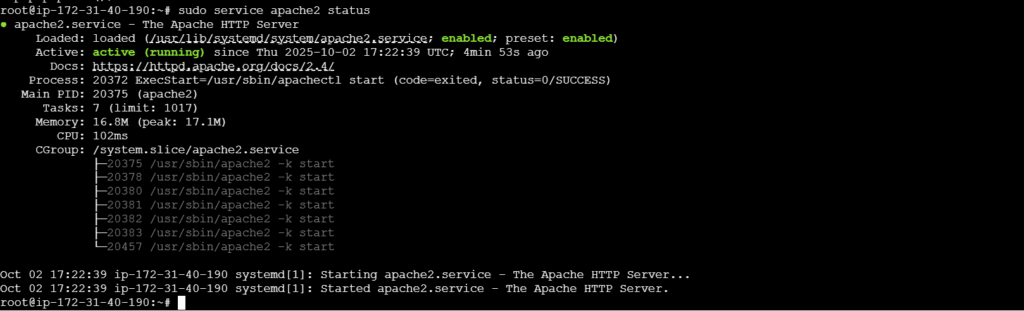
Step 5: Configure Apache or Nginx
# sudo apt-get install apache
# sudo apt-get install nginx
Please Look We already have installed apache2 service.
# sudo service apache2 status
Step 6. Test PHP
Create a test file for phpinfo using below command:
# echo “<?php phpinfo(); ?>” | sudo tee /var/www/html/info.php

Now you can access the file in the browser by vising the following URL: http:YourServerIPaddress:/info.php
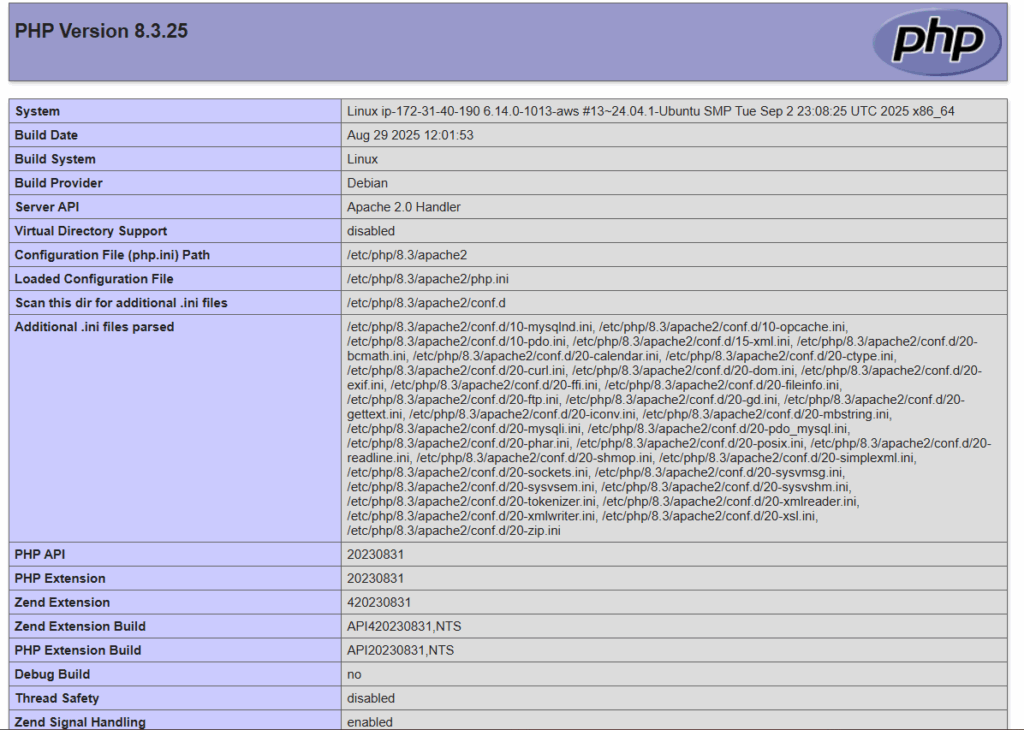
That’s it! 🎉 You’ve now successfully installed PHP 8.3 on your Ubuntu 24.04 server.
Thanks for watching….