
How To Setup EC2 Instance (Linux)
 By
By 
Steps to Create an EC2 Instance
1. Login to AWS
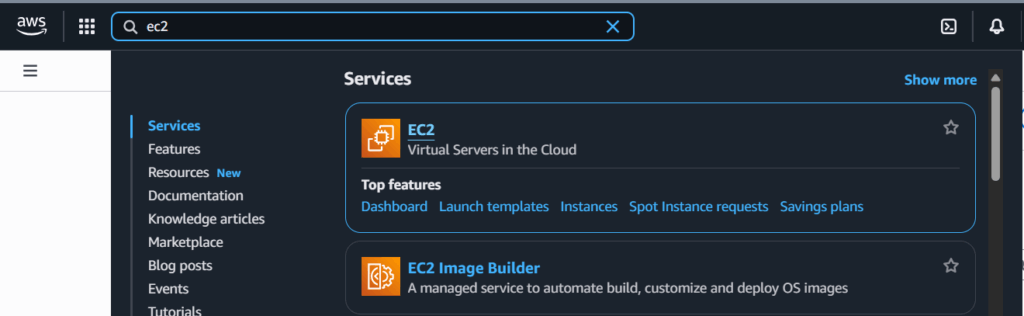
Go to AWS Management Console
Search for EC2 in the search bar and open it.
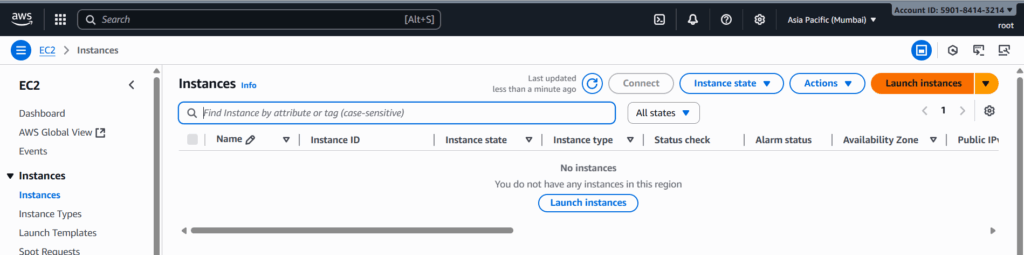
2. Launch Instance
Click Launch Instance.
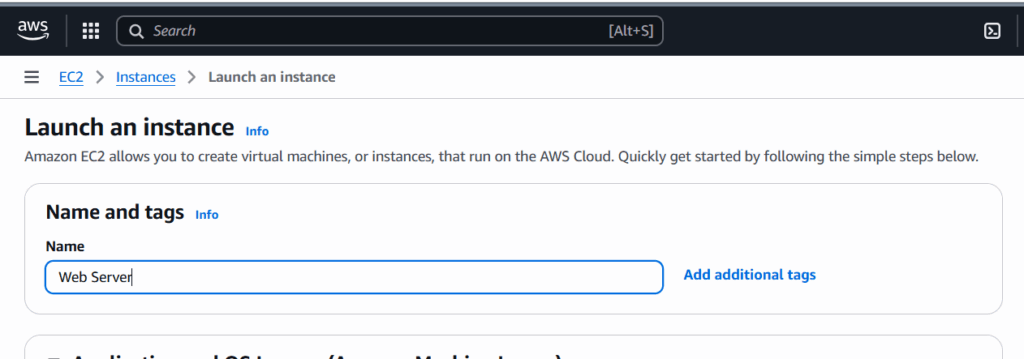
Enter a Name for your instance.
3. Choose an Amazon Machine Image (AMI)
Select the operating system you want, e.g.:
- Amazon Linux (lightweight, AWS-optimized).
- Ubuntu (common for web apps).
- Windows Server if you need Windows.
- Choose the right version (e.g., Ubuntu 24.04).

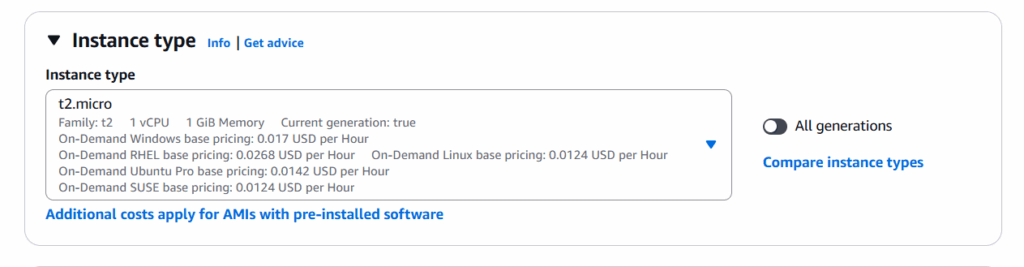
4. Choose Instance Type
Example types:
- t2.micro / t3.micro → Free tier eligible.
- t2.large / m5.large → For bigger workloads.
Select based on your project requirements.
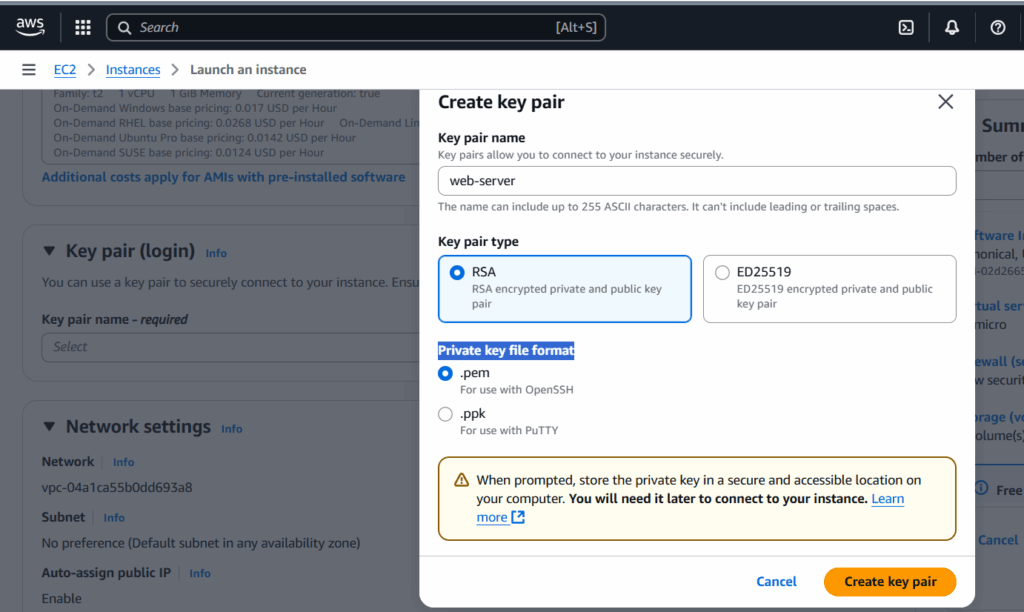
5. Configure Key Pair (SSH Login)
Under Key Pair (login):
Keep it safe and never share it.
Create a new key pair if you don’t already have one.
Download the .pem file (important — you’ll need it to connect via SSH).
6. Configure Network Settings
By default, AWS creates a VPC + Security Group.
Open required ports:
- 22 (SSH) → Linux access.
- 80 (HTTP) → Web server.
- 443 (HTTPS) → Secure web server.
You can add more ports later.

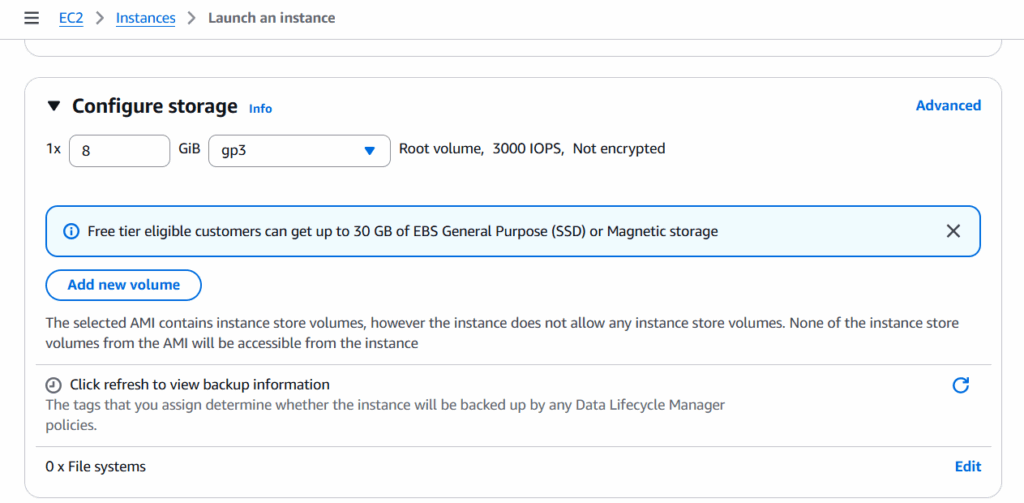
7. Configure Storage
Default: 8 GB EBS Volume.
Increase if needed (e.g., 30–100 GB for WordPress or applications).
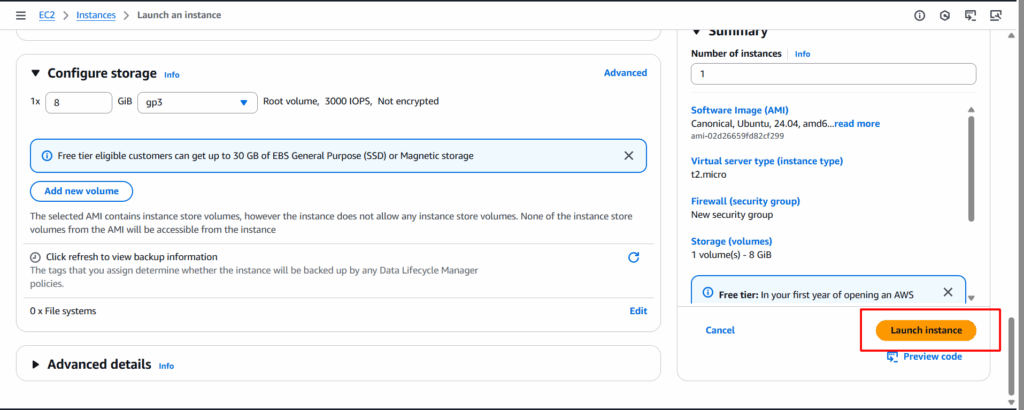
8. Review & Launch
Double-check all settings.
Click Launch Instance.
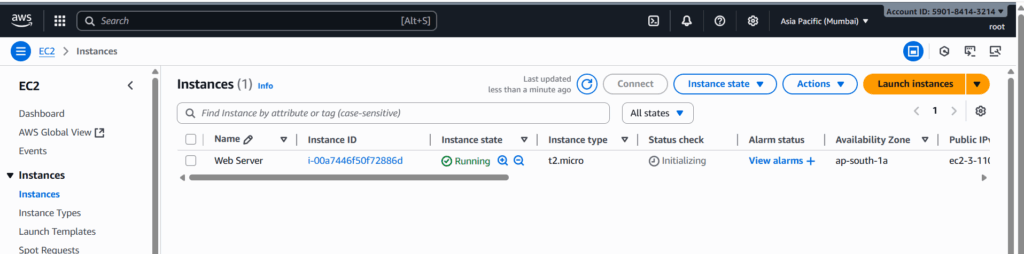
9. Now you can See Your Instance is running
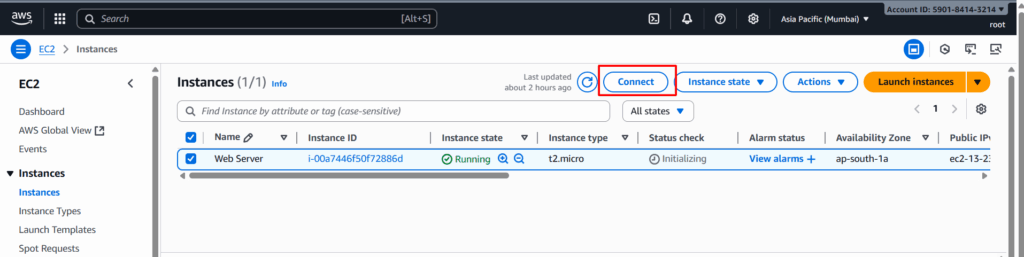
10. Connect to Your Instance
Once running, go to Instances → Select Instance → Connect.
AWS Gives you an SSH Command Like This:-
ssh -i “my.pem” ubuntu@ec2-13-235-9-69.ap-south-1.compute.amazonaws.com
Replace my.pem with your downloaded key file.
Thanks for watching……..