How to Install MongoDB on Ubuntu 24.04 (Step-by-Step Guide 2026)
 By
By 
MongoDB is a popular NoSQL database used in modern web applications.
In this guide, you will learn how to install MongoDB on Ubuntu 24.04 step-by-step with easy commands.
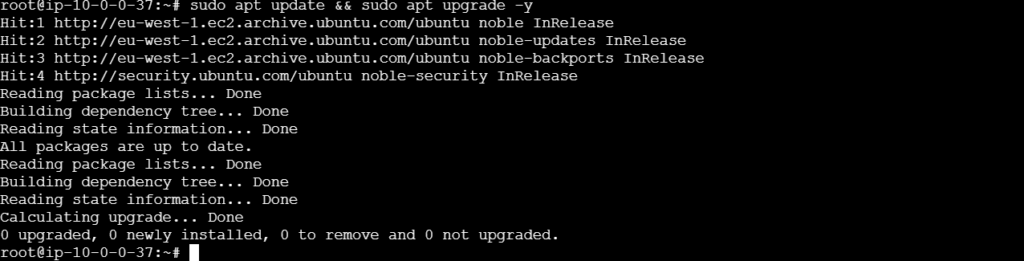
Step 1: Update System
Run the following command to update your system packages:
#sudo apt update && sudo apt upgrade -y
Step 2: Install Required Packages
Run the following command to install that package:
#sudo apt install gnupg curl -y

Step 3: Add MongoDB GPG Key to verify package authenticity
Run the following command to add the GPG key:
#curl -fsSL https://pgp.mongodb.com/server-8.0.asc | \
sudo gpg -o /usr/share/keyrings/mongodb-server-8.0.gpg \
–dearmor

Step 4: Add MongoDB Repository
Run the following command to add source list for MongoDB 8.0
#echo "deb [ arch=amd64,arm64 signed-by=/usr/share/keyrings/mongodb-server-8.0.gpg ] https://repo.mongodb.org/apt/ubuntu noble/mongodb-org/8.0 multiverse" | sudo tee /etc/apt/sources.list.d/mongodb-org-8.0.list

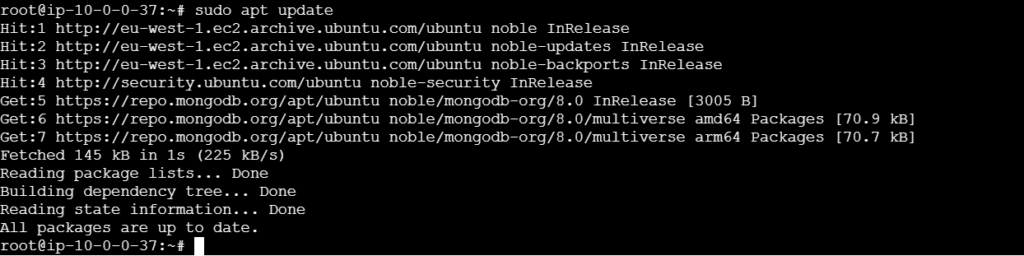
Step 5: Update Packages
Run the following command to update your system packages:
#sudo apt update
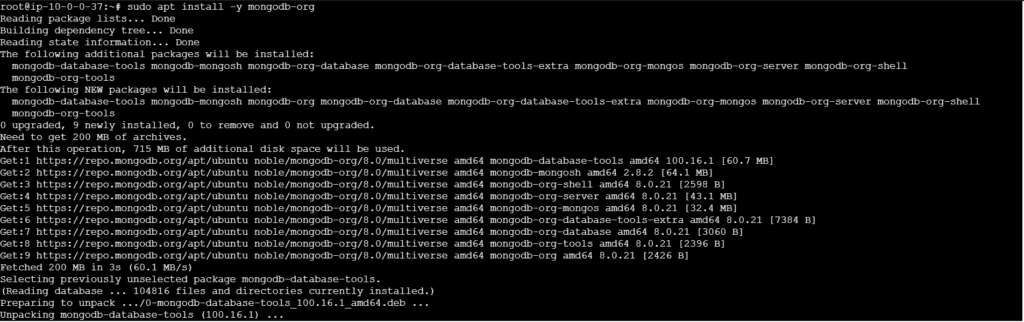
Step 6: Install MongoDB
Reload the local package database and install MongoDB:
#sudo apt install -y mongodb-org
Step 7: Start and Enable MongoDB
Start the daemon and configure it to run on startup:
#sudo systemctl start mongod
#sudo systemctl enable mongod

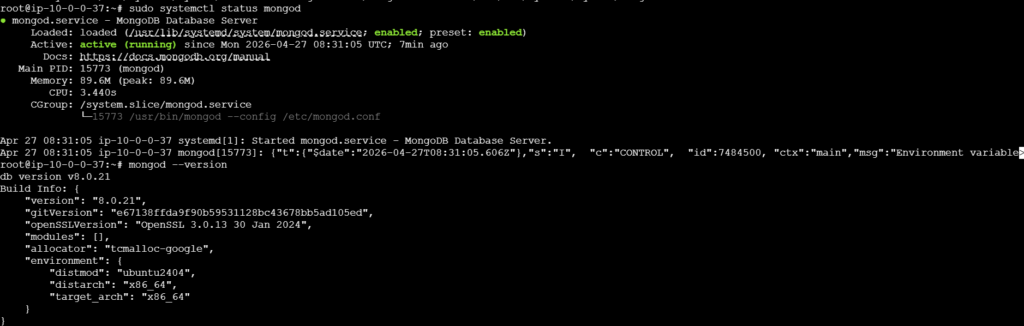
Step 8: Verify Installation
Check that the service is active and running & Verify Version:
#sudo systemctl status mongod
#mongod –version
Basic Configuration:
Log File: /var/log/mongodb/mongod.log
Configuration File: /etc/mongod.conf
Default Port: 27017
Note: For security, consider setting up authentication and configuring firewall rules (e.g., using UFW) if you need remote access.
Thanks for Watching…