
How to Install Apache on Ubuntu 26.04 (Step-by-Step)
 By
By 
Apache HTTP Server (commonly called Apache) is one of the most widely used open-source web servers in the world. It allows your Ubuntu server to serve websites over HTTP/HTTPS, meaning it delivers web pages, images, and applications to users’ browsers when they visit your domain or IP.
Here’s a clear, practical step-by-step guide to install Apache on Ubuntu 26.04 (latest LTS-style workflow).
Step 1: Update System Packages
Before installing anything, update your package index:
# sudo apt update && sudo apt upgrade -y

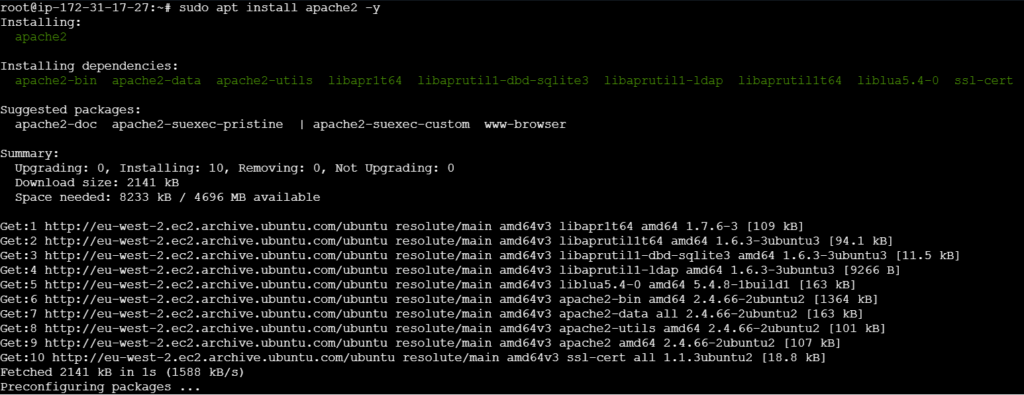
Step 2: Install Apache
This installs the Apache HTTP Server along with required dependencies.
# sudo apt install apache2 -y
Step 3: Start and Enable Apache
You should start and enabled Apache service.
# sudo systemctl start apache2
# sudo systemctl enable apache2

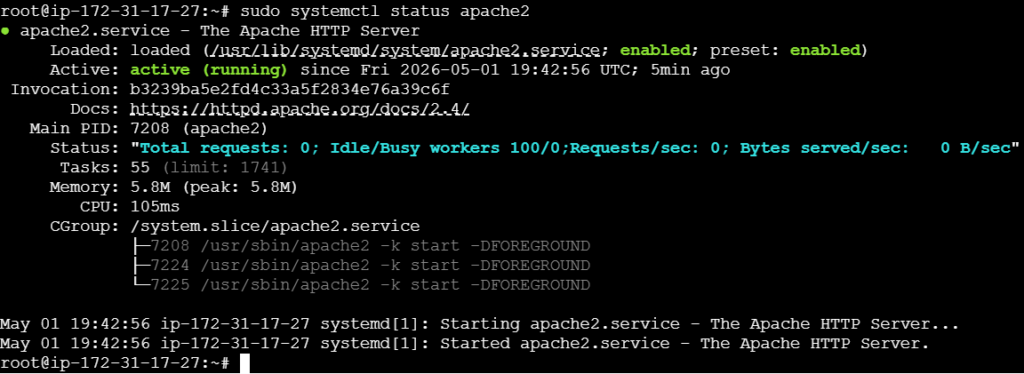
Check status:
You should see active (running)
# sudo systemctl status apache2
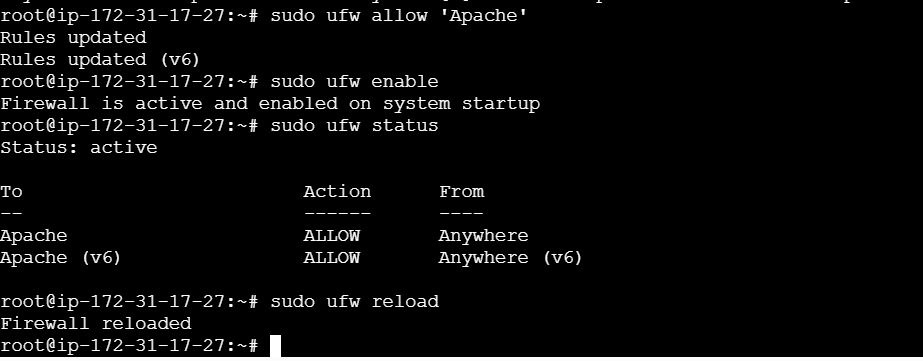
Step 4: Allow Firewall (Important)
If you’re using UFW: Then run following commands
# sudo ufw allow ‘Apache’
# sudo ufw enable
# sudo ufw status
# sudo ufw reload
Step 5: Test Apache in Browser
Open your browser and visit:
# http://your-server-ip
You should see the Apache default page (It works!)

Step 7: Important Apache Commands (Bonus)
| Action | Command |
|---|
| Restart Apache | sudo systemctl restart apache2 |
| Stop Apache | sudo systemctl stop apache2 |
| Reload Config | sudo systemctl reload apache2 |
| Disable Apache | sudo systemctl disable apache2 |
Done!
Your Apache server is now fully installed and running on Ubuntu 26.04.
Thanks for watching….